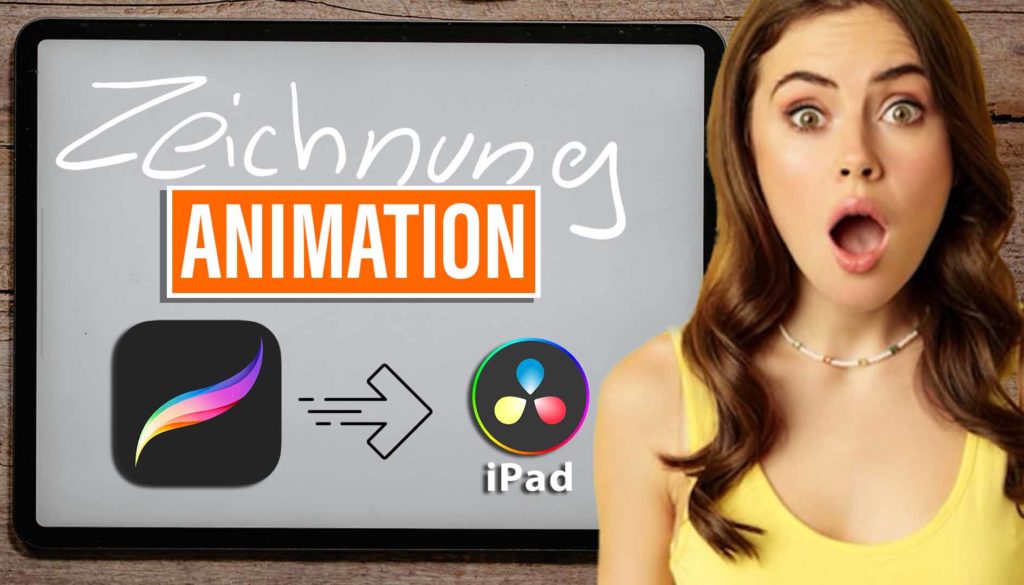
TOP 3 Wege Animationen in Procreate vs FCP fürs iPad
In diesem Artikel zeige ich dir 3 Möglichkeiten, wie du eine sehr einfache Animation mit Procreate auf deinem iPad erstellen kannst. Aber alle diese Animationsmethoden sind entweder komplizierter oder nicht so genau wie der einfache Weg der Verwendung der Live Drawing Funktion von Final Cut Pro für das iPad.
In meinem Video und Artikel über Live Drawing mit FCP fürs iPad, zeige ich wie schnell du komplette Animations Bibliothek von Handzeichnungen erstellen kannst. In den Kommentaren bekam ich das Feedback, warum man nicht Procreate statt FCP für die Erstellung der Animationen verwendet?
Deshalb zeige ich dir heute, wie du Procreate für Animationen verwenden kannst. Aber es ist nicht der schnellste Weg. Lass mich dir zeigen, was ich meine.
Wenn Sie das Video über die Live Drawing Funktion von FCP iPad noch nicht gesehen hast, schau dir dieses Video zuerst an.
Pro Tipp: Mache deine Videos cinematisch (und spare eine Menge Zeit) mit unserem Seamless Transition Pack für DaVinci Resolve iPad.
Contents
- [Video] TOP 3 Wege ANIMATIONEN in Procreate erstellen!
- Die einfache Art von Animationen, die wir heute erstellen wollen.
- Methode 1: Verwende die Bildschirmaufzeichnung des iPad
- Methode 2: Verwendung der Procreate integrierten Zeitrafferaufnahme
- Methode 3: Erstellen von Animationen in Procreate mit der Funktion „Animationsassistent“.
- Fazit
- Wenn du deinen eigenen Online-Kurs hosten möchtest, dann nimm CC360
- BONUS: Alle Teilnehmer der DaVinci Resolve iPad Masterclass erhalten das Transition Pack GRATIS!
[Video] TOP 3 Wege ANIMATIONEN in Procreate erstellen!
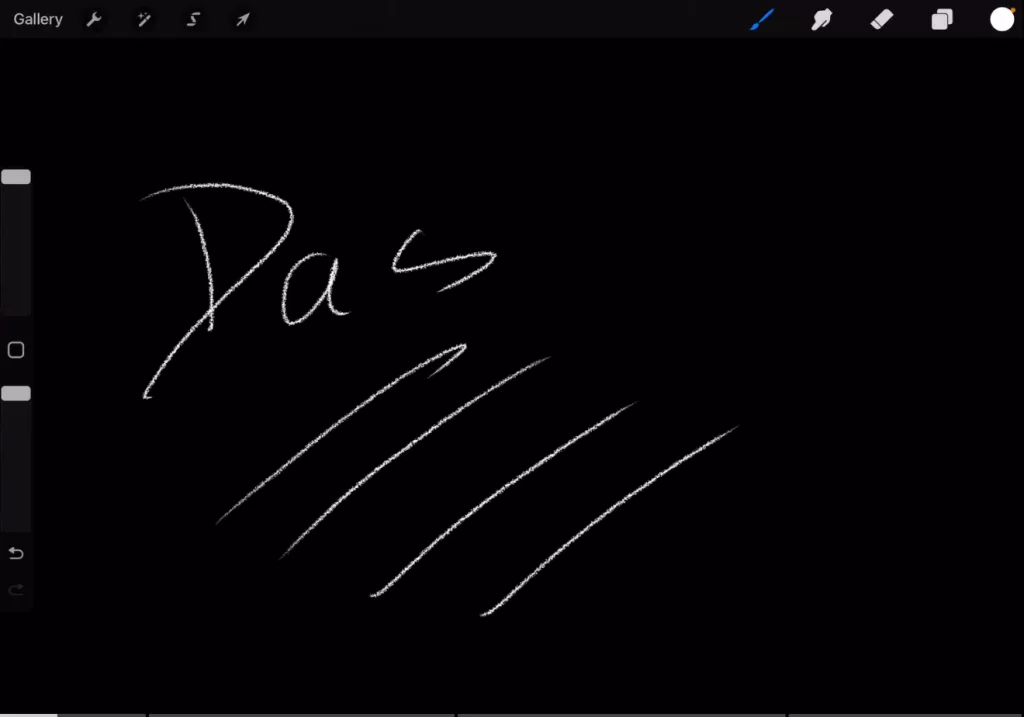
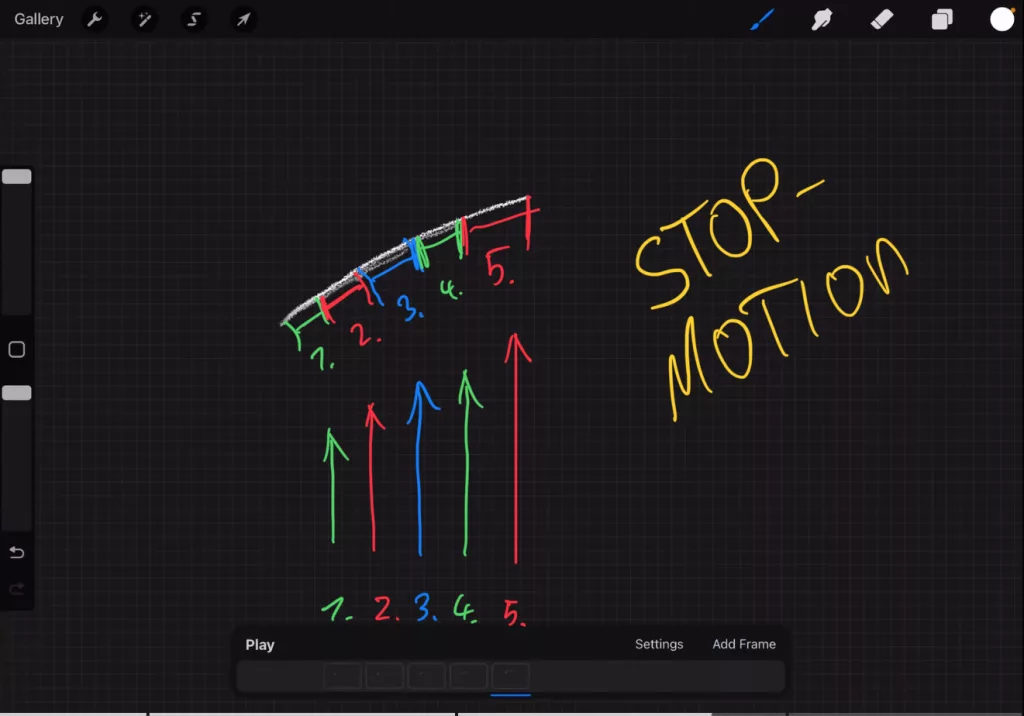
Die einfache Art von Animationen, die wir heute erstellen wollen.
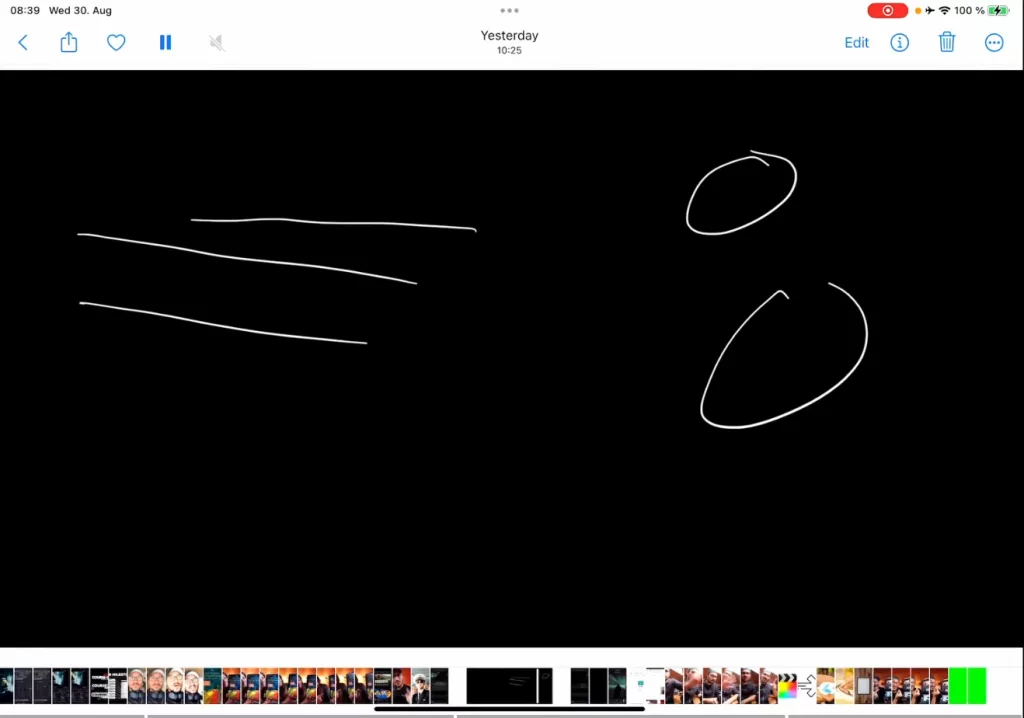
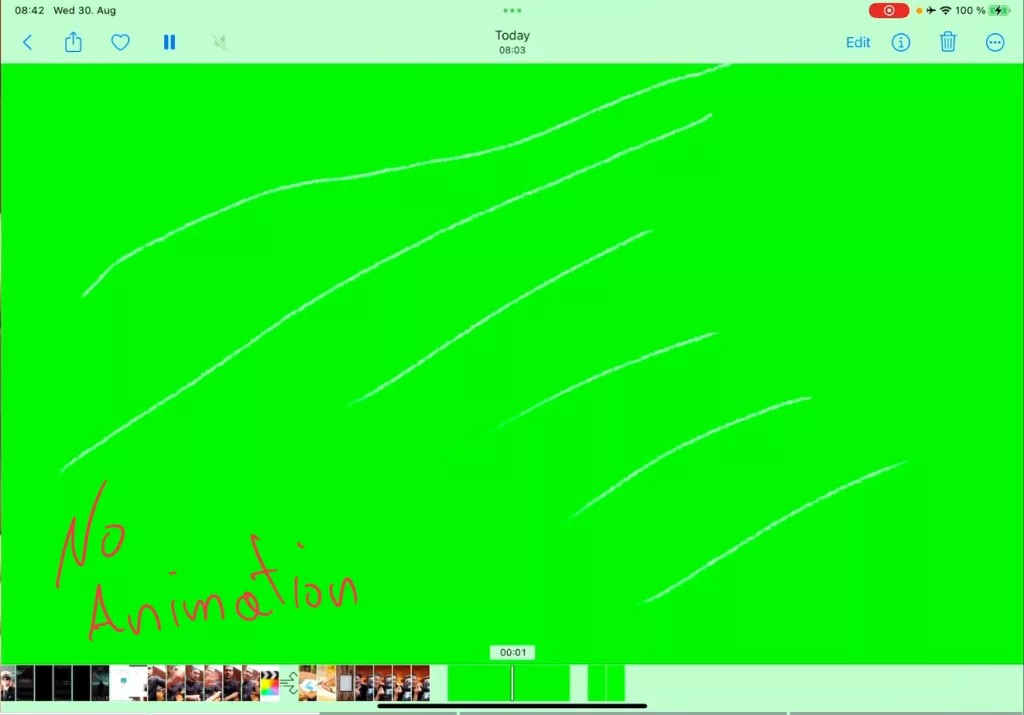
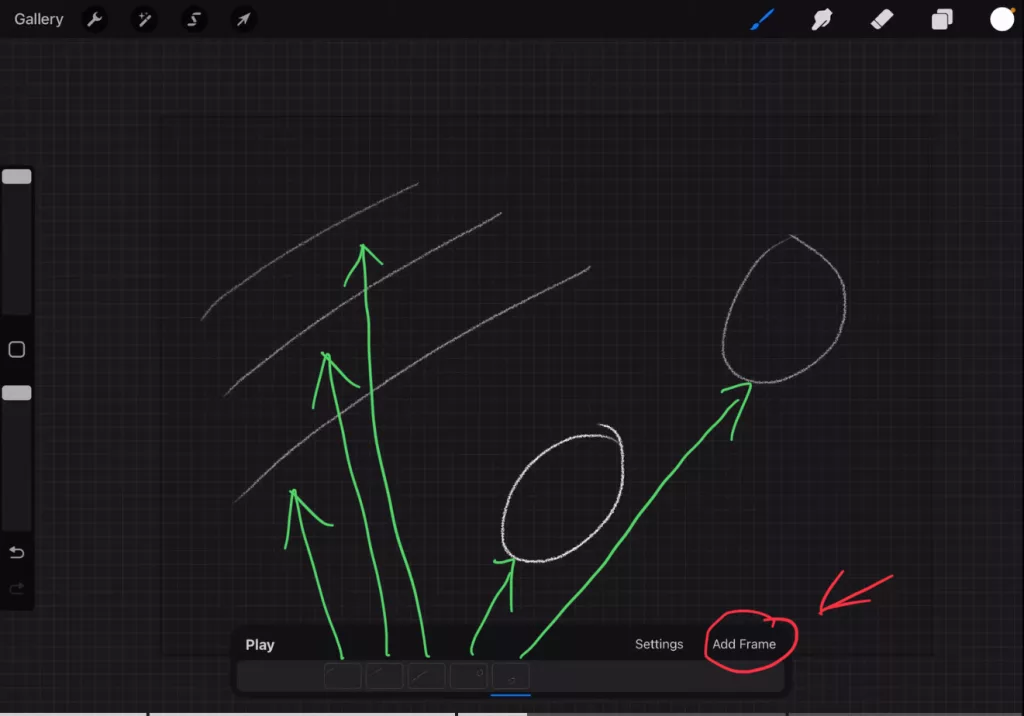
Methode 1: Verwende die Bildschirmaufzeichnung des iPad
Warum ist das Seitenverhältnis wichtig?
Es kann dir helfen Zeit zu sparen, wenn du die Animation in deinem Videobearbeitungs-Program direkt mit der richtigen Auflösung bringst. Stell dir vor, du erstellst eine ganze Bibliothek von handgezeichneten Animationen, die du später zum Beispiel in DaVinci Resolve für das iPad als Vorlagen verwendest. Wenn das Seitenverhältnis bereits mit der Timeline übereinstimmt, musst du die Position und Größe nicht mehr ändern.
Und außerdem können wir die Animationsgeschwindigkeit nicht ändern, bevor wir die Vorlage erstellen. In FCP für iPad kannst du vor dem Export die Animationsdauer ändern.
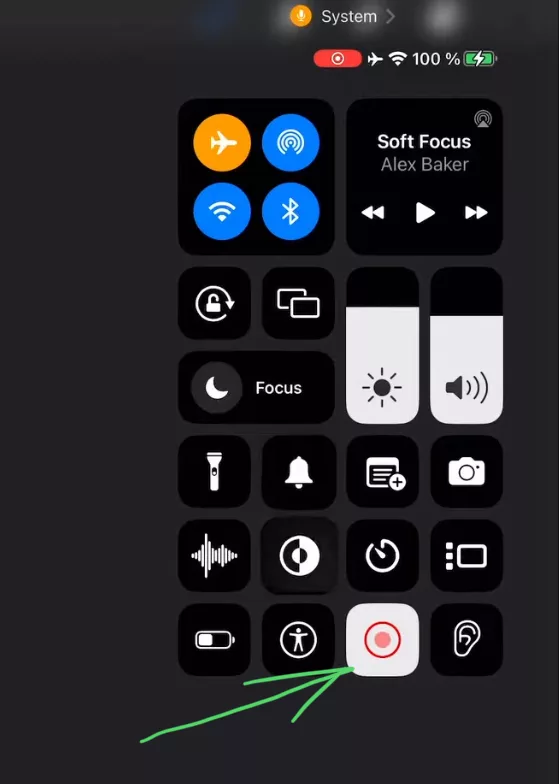
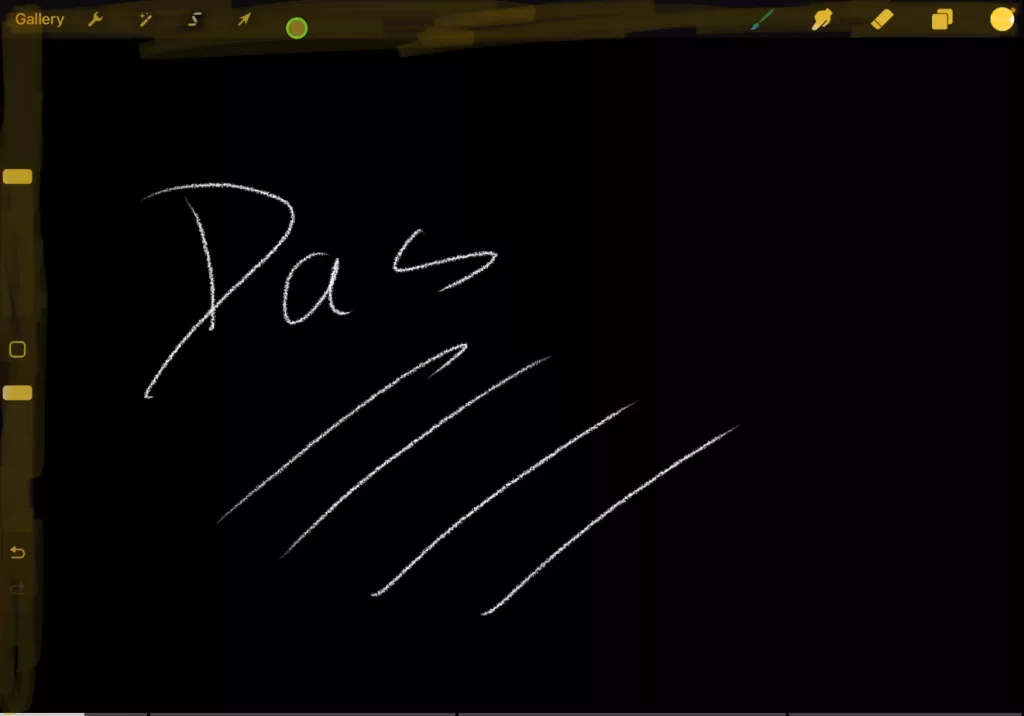
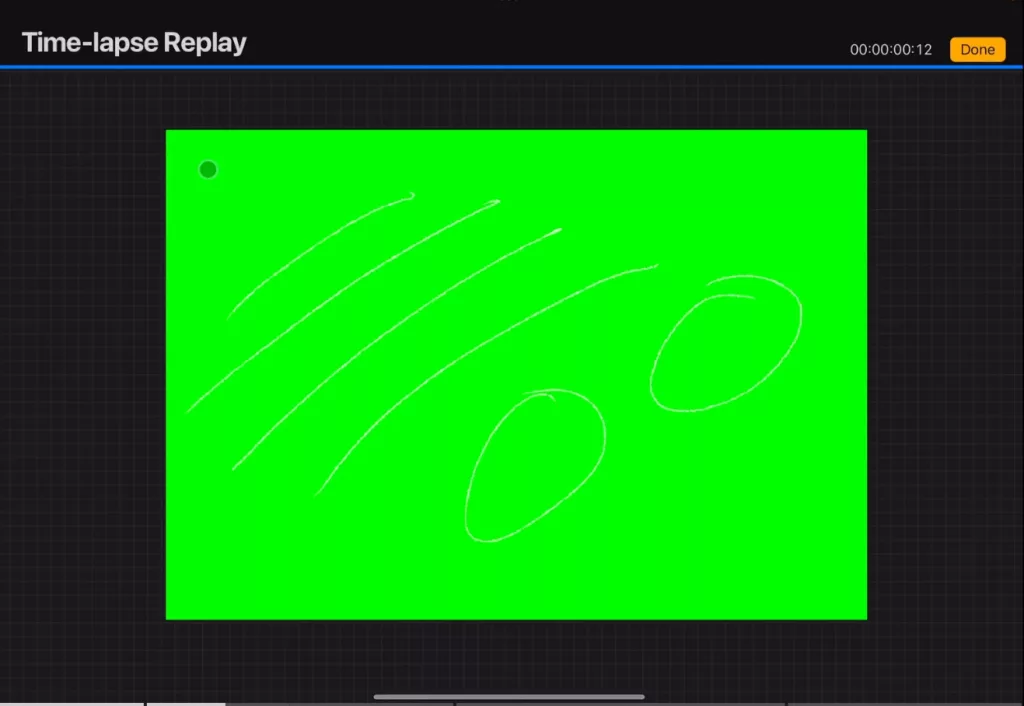
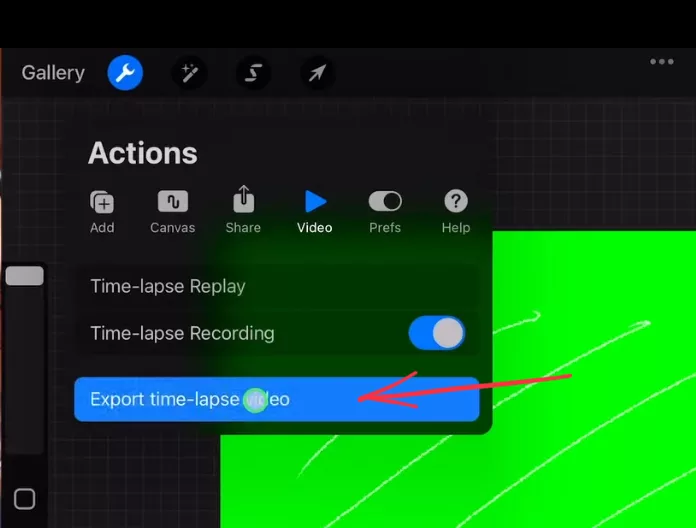
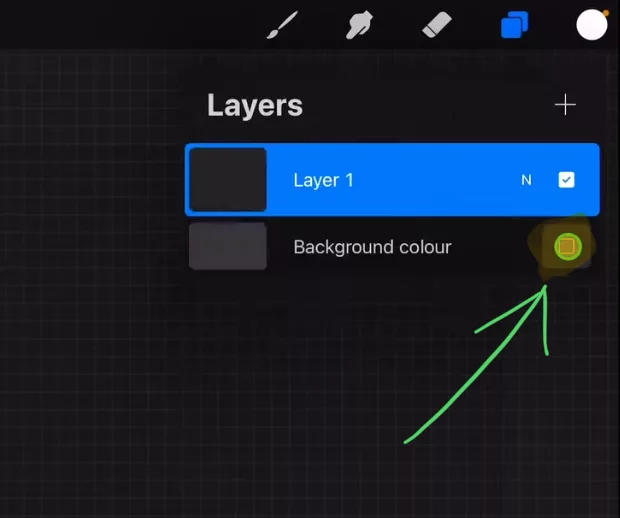
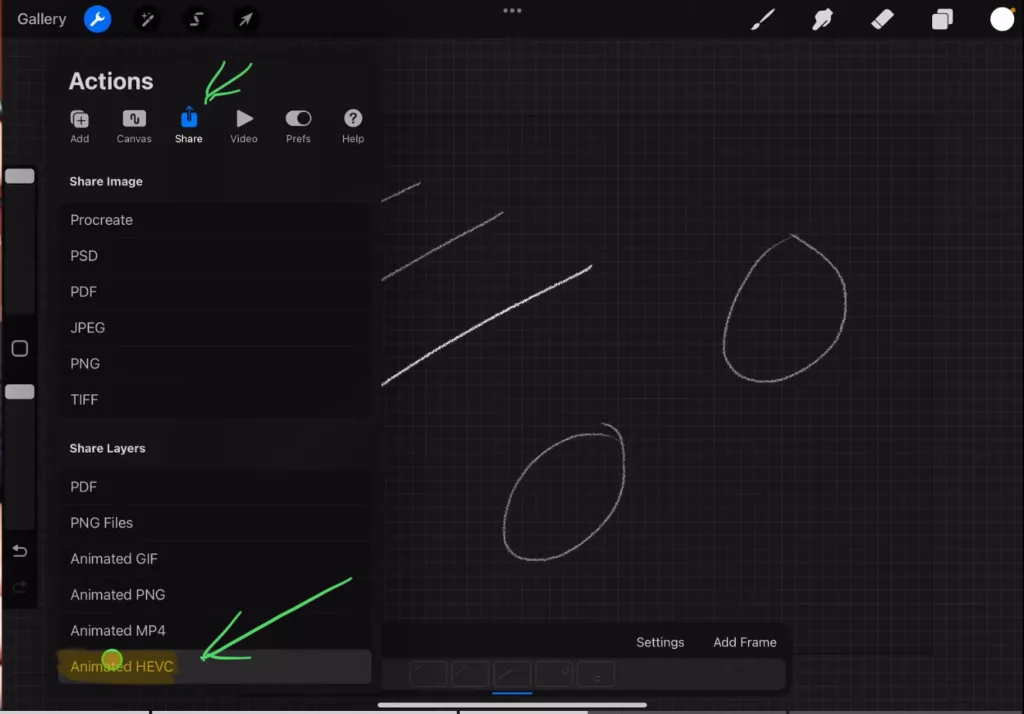
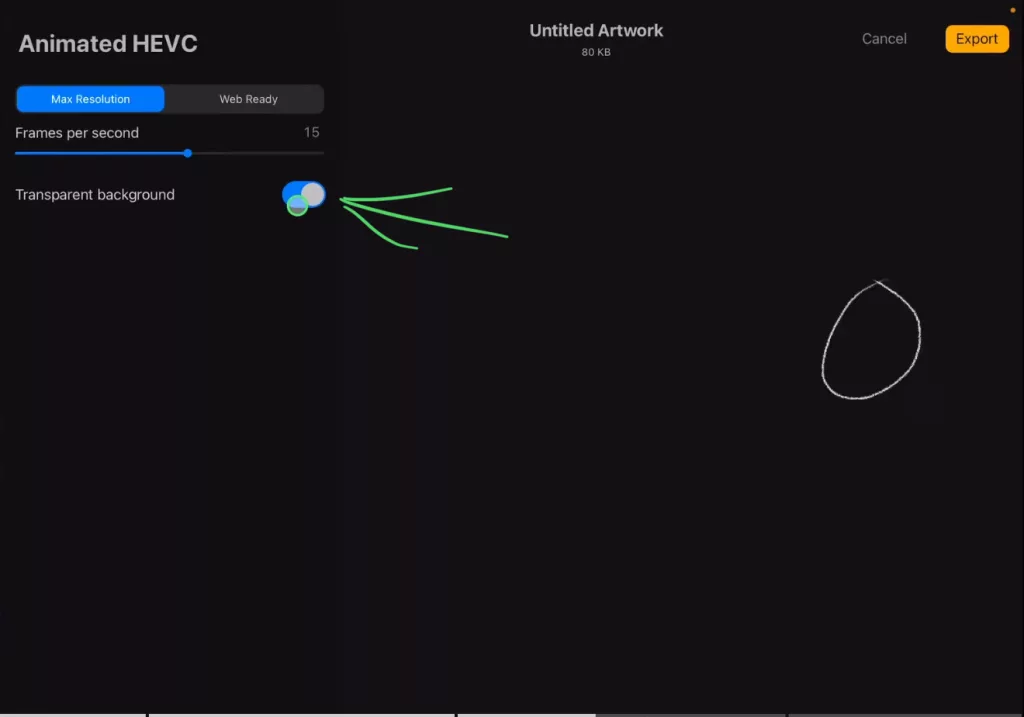
Methode 2: Verwendung der Procreate integrierten Zeitrafferaufnahme
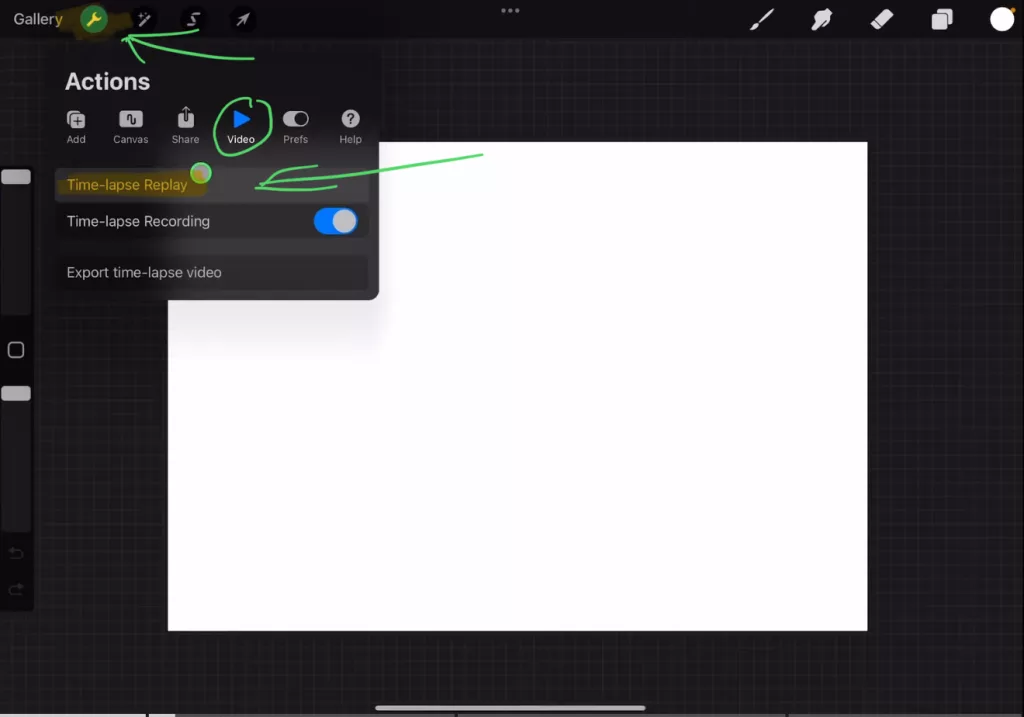
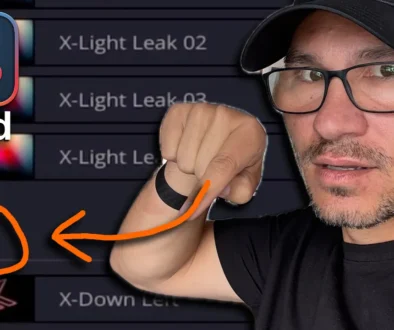
Wichtig: Um die Timelapse-Aufnahme zu aktivieren, musst du sie einschalten. Mein Pfeil im Bild oben zeigt auf den falschen Button. Klicke auf den Kippschalter unter der Stelle, auf die der Pfeil zeigt 😉


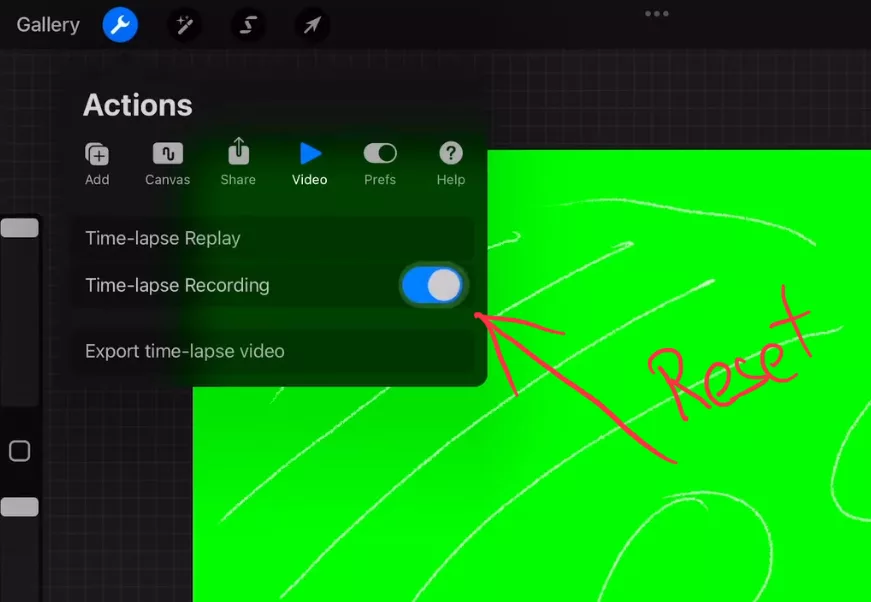
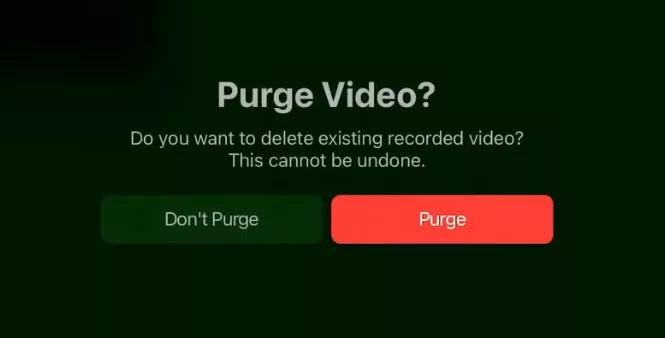
Wie setzt man die Procreate-Zeitrafferaufnahme zurück?
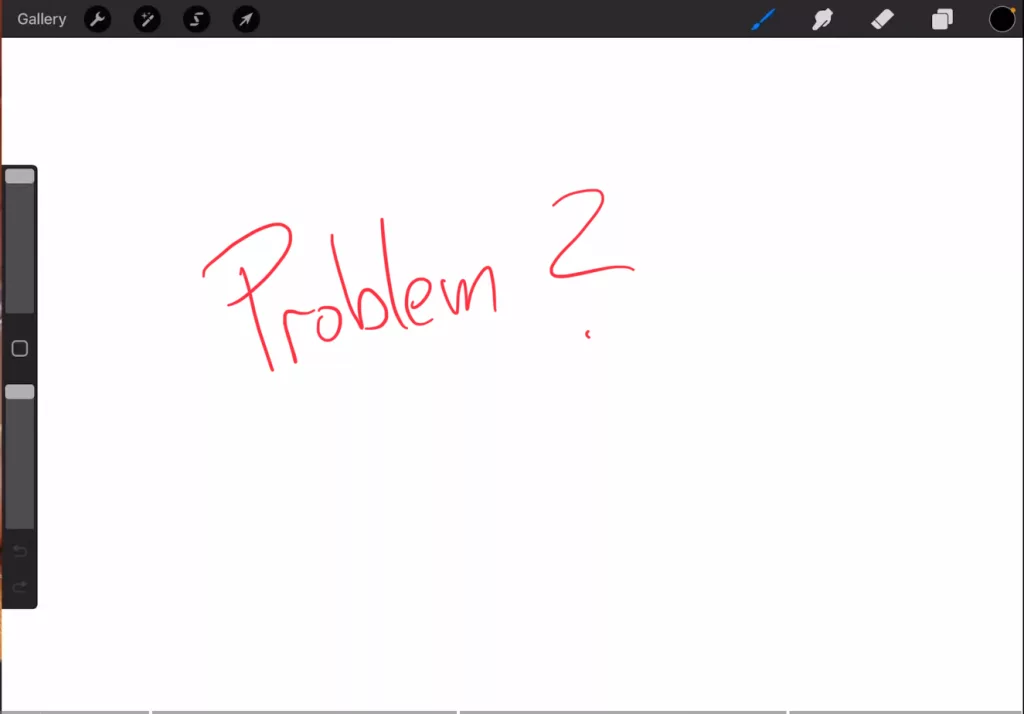
Das Problem: Nicht wirklich eine Animation
Wie kann man diese Methode in Procreate richtig anwenden?
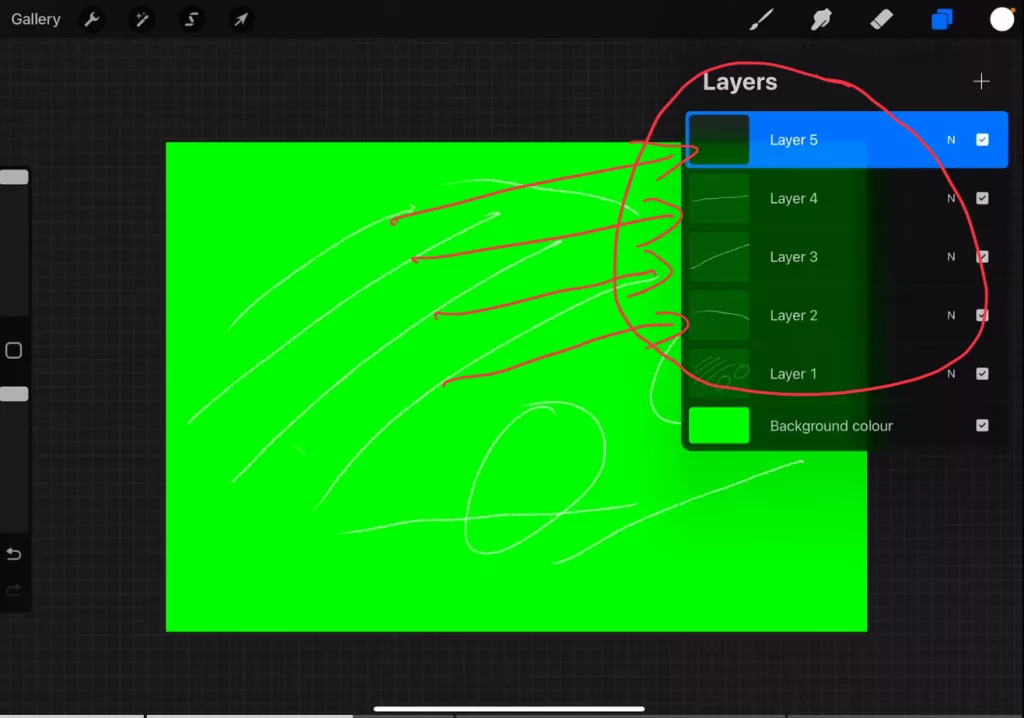
Aber auch dann wird das Ergebnis zu schnell und nicht wirklich eine schöne Animation während des Zeichnen auf dem Bildschirm. Wenn du die Ebenen verwendest und eine Linie auf jede Ebene legst, werden die Ebene für Ebene animiert. Die gesamte Linie wird also einfach auf dem Bildschirm erscheinen. Das ist nicht wirklich was wir wollen.
Wie können wir das also ändern?
An dieser Stelle kommen wir zu Methode 3, der richtigen Art der Animation in Procreate.
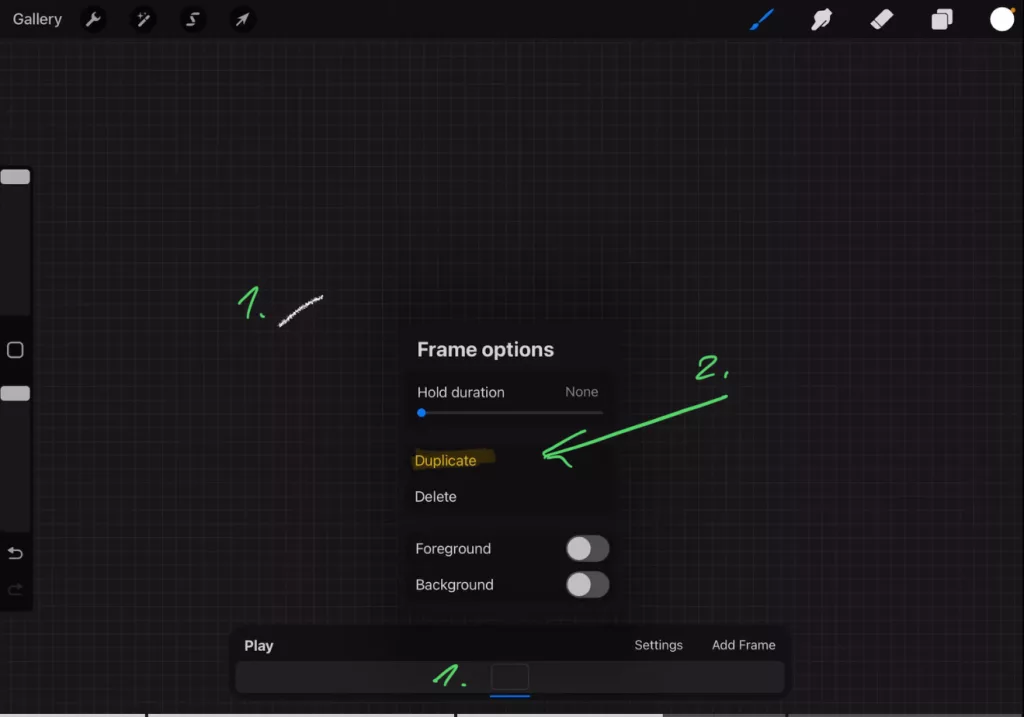
Methode 3: Erstellen von Animationen in Procreate mit der Funktion „Animationsassistent“.
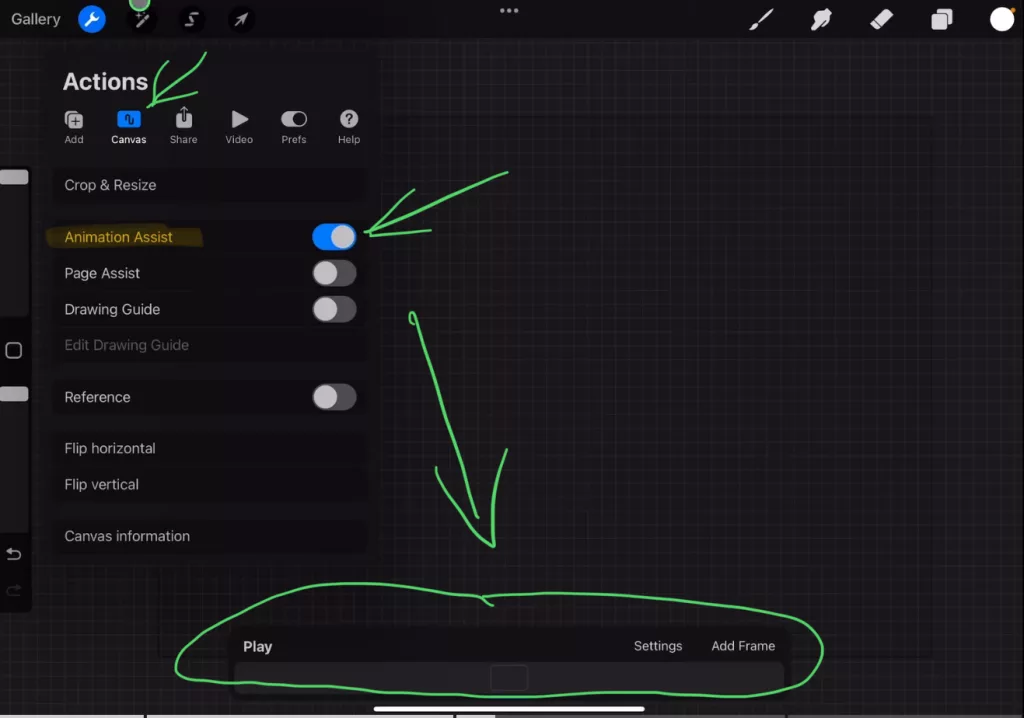
Wie exportiert man die Animation?
Das Problem mit der soeben erstellten Animation ist ähnlich wie bei Methode 2. Jedes Bild zeigt eine Ebene. Und was noch schlimmer ist, alle vorherigen Ebenen verschwinden wieder. Und wir haben immer noch keine Animation, während die Linie auf dem Bildschirm zu sehen ist. Was können wir also tun, um das zu beheben?
Der richtige Weg zur Erstellung von Animationen mit der Animate Assist-Funktion von Procreate
Fazit
Ich weiß, dies war eine Menge Schritte. Ich wollte, dass du verstehst warum Hand-Zeichnung Animationen mit der Live Drawing Funktion von FCP fürs iPad so viel schneller ist. Und selbst wenn du 5 Euro für einen Monat zahlen musst … kannst du 100x mal so viele Animationen erstellen, anstelle Procreate zu verwenden.
Meiner Meinung nach sollte man also für einfache Animationen nicht Procreate verwenden…
Und damit bin ich nicht gegen Procreate. Die Animate Assist-Methode ist die klassische Methode, um ganze Cartoons zu animieren. Und wenn man sich die Zeit und Mühe nimmt, kann man erstaunliche Ergebnisse erzielen.
Aber wenn man einfach nur eine handgezeichnete Linie auf dem Bildschirm animieren will, braucht man mit Procreate zu viel Zeit.
O
Wenn du deinen eigenen Online-Kurs hosten möchtest, dann nimm CC360
Ich glaube wirklich, dass CC360 die beste Plattform ist, um Online-Kurse zu hosten. Schau einfach mal selbst nach hier.
BONUS: Alle Teilnehmer der DaVinci Resolve iPad Masterclass erhalten das Transition Pack GRATIS!
Du kannst das Transition Pack entweder separat hier erwerben: Seamless Transition Pack für DaVinci Resolve iPad. Oder alle unsere DaVinci Resolve iPad Packs sind ein GRATIS Bonus für die DaVinci Resolve iPad Masterclass Kursteilnehmer.
Schau dir hier die DaVinci Resolve iPad MasterClass an: Vom Beginner zum Pro.
Das könnte dich auch interessieren:
• Wie du iPhone HDR Videos bearbeitest in DaVinci Resolve iPad
• Screenshot von der Timeline (DaVinci Resolve iPad)
• Der Vergleich: DaVinci Resolve iPad Studio oder kostenlos?
• So synchronisierst du Audio & Video in DaVinci Resolve fürs iPad
• Top 3 Möglichkeiten Geschwindigkeit eines Clips ändern in DaVinci Resolve iPad

Videos auf dem iPad schneiden – das kann einfacher sein, als du denkst.
Ich bin Daniel – Filmemacher, Kursleiter und digitaler Nomade. Ich habe Final Cut Pro und DaVinci Resolve auf dem iPad intensiv in echten Projekten getestet – und zeige dir Schritt für Schritt, wie du das auch kannst. Ohne Technik-Frust. Ohne komplizierte Fachbegriffe.
Meine DaVinci Resolve iPad MasterClass und Final Cut Pro iPad MasterClass haben schon hunderten Anfängern geholfen – auch denen, die vorher noch nie geschnitten haben.